Gata (Katah) with Walnut Filling
When my husband and I lived in Moscow, we used to buy some wonderful little pastries that had a walnut filling. They were called gata (katah). He told me that his mom used to make similar pastries, but they had a lot more nuts in the filling. The ones that we were able to find were sadly lacking in the filling department.

At the time, I could not find a good recipe to try making them. All of the recipes that I was able to find were either plain bread-like pastries with no filling, or they had some kind of sweet, buttery flour filling. I'm sure they are all good, but I was looking for something specific. I wanted a nut filling.
Eventually, I decided to use one of the recipes I'd found to make the dough, and then just make the filling however I could. The dough recipe I used is from a blog that is written by Robyn and Doug Kalajian, a couple of Armenian descent, who are trying to preserve their culinary heritage, "one recipe at a time". As for the filling, I simply ground a couple of pounds (seems like a lot!) of walnuts, added some melted butter, sugar, spices and a little milk to help keep it moist.
If the reactions of my husband and family are anything to judge by, this recipe is a keeper...
Ingredients:
Dough

- 1 pkg active dry yeast
- 1/4 C (about 60 ml) warm water (110-115 degrees F or 45 degrees C)
- 1 Tbsp sugar
- 1 Tbsp flour
- 1 C (225 g) unsalted butter, melted
- 3 eggs
- 8 oz (about 230 g) sour cream or plain yogurt
- 4 C (500 g) all purpose flour
- pinch of salt
Filling

- 2 lbs (1 kg) shelled walnuts
- 3/4 C (170 g) butter, melted
- 3/4 C (150 g) sugar
- 1 Tbsp vanilla
- 1 Tbsp cinnamon
- 1/2 Tbsp ground cloves
- 1/2 Tbsp ground cardamon
- 1 tsp ground ginger
- 1/2 C milk
Egg wash
- 1 egg yolk
- 1 Tbsp water
The first thing to do is start the dough. It is a yeast dough and will need to rise, so you will have plenty of time to make the filling while the dough is rising.
 Using a candy thermometer, check the temperature of your water. It should be between 110 and 115 degrees Fahrenheit. If you don't have a thermometer, you can use my husband's mother's method. She told me that the water for rising the yeast should be just warm and pleasant to the touch. The yeast are living organisms, after all, so if the water is too warm for your fingers, it's going to kill some of the yeast. If it's too cold, they won't start working.
 Once you've got the right temperature, sprinkle the yeast over the top of the water. This will rise quite a bit, so I recommend using at least a two-cup measuring cup. Mix the yeast into the water gently and then add the sugar and flour. Work this gently into the yeasty water, cover with plastic wrap and set aside in a warm place.
 Now you can measure out your other ingredients. Or, you can delegate this to your assistant. Mine is named Bulldozer. He has to be watched, though - he's been known to eat the ingredients before they can be mixed up!
Beat in the eggs, one at a time, until well incorporated and the mixture turns a creamy yellow color. Add the sour cream or yogurt (I used Chobani 2% Greek yogurt) and mix well.


Aren't you glad you used a taller measuring cup now? Pour the yeast mixture into the butter, add a pinch of salt, and mix it gently.
The next step is to start adding in the flour. My assistant came back to help me on this part, as you can see in the picture.

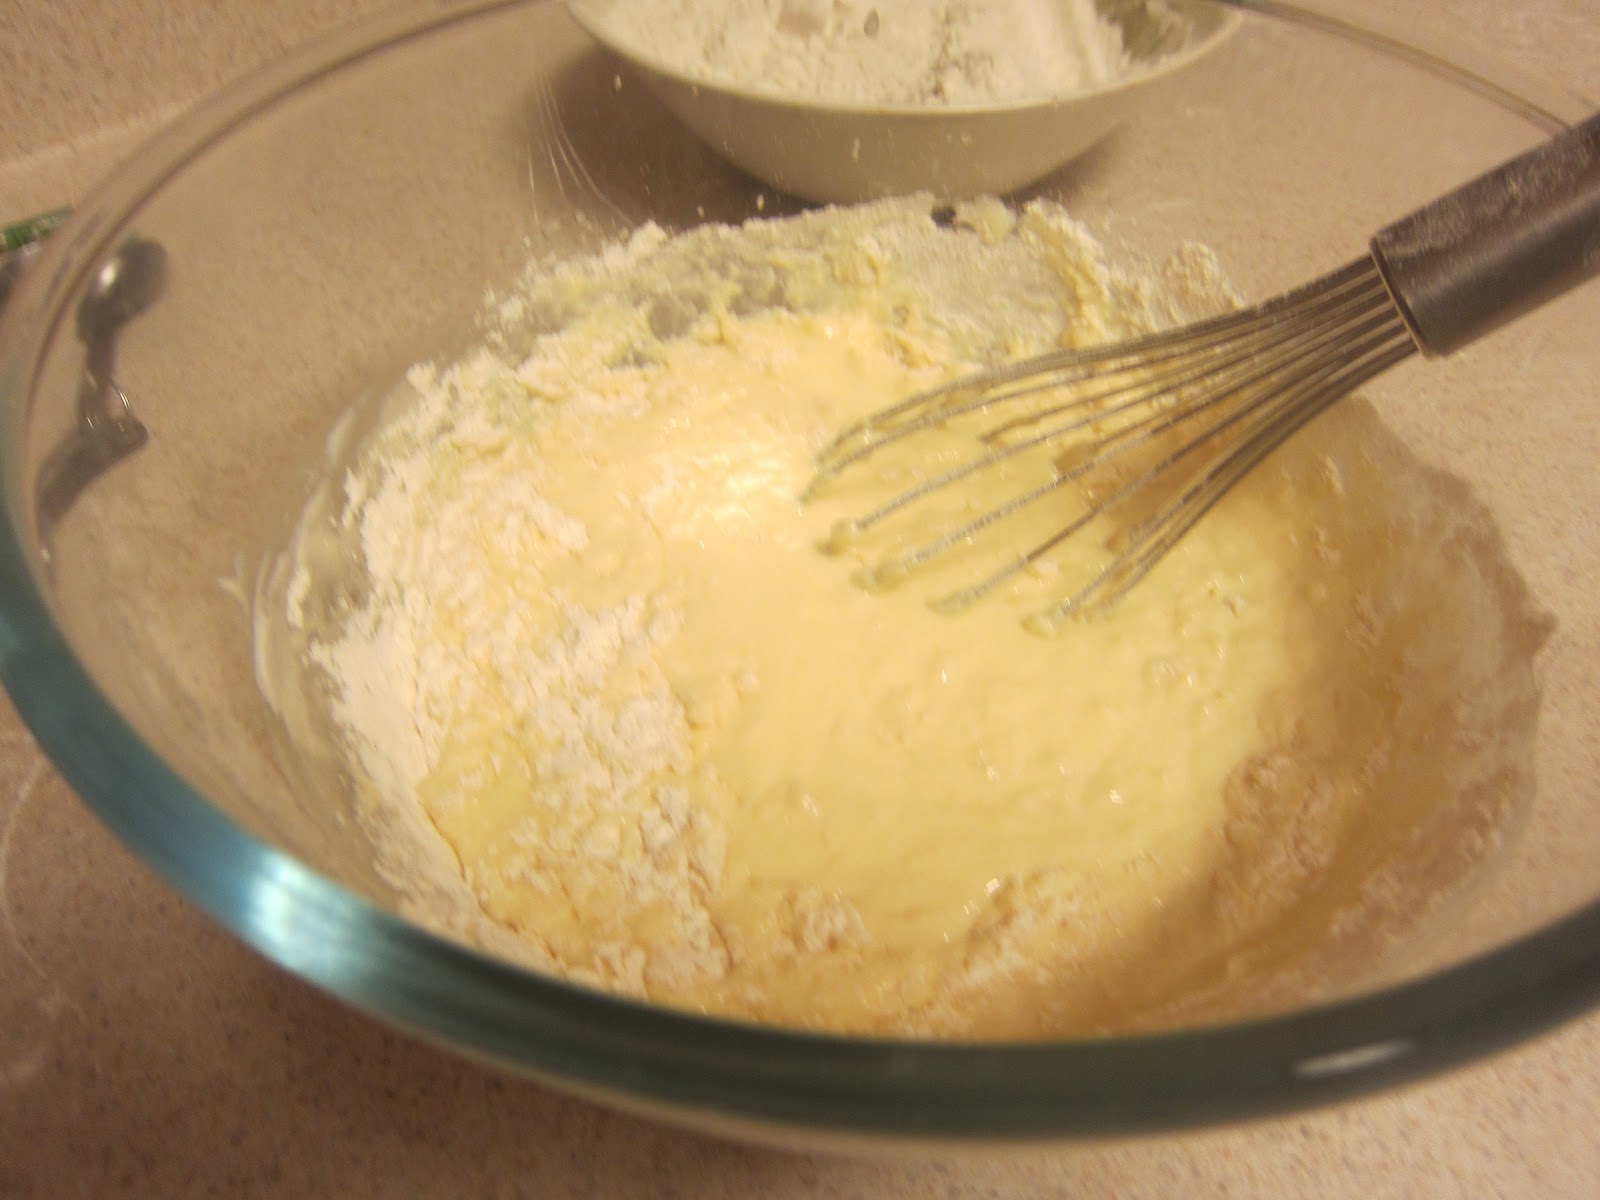 Mix in as much flour as you can with the whisk or stand mixer, and then start using your hands (flour them first though). Don't worry about getting a little sticky; this is the fun part!
Work in the remaining flour a little at a time.
 Any dough that sticks to you now can be scraped off and kneaded into the dough as you work with it.
Once your dough is forming a ball, turn it out onto a floured surface for kneading.

 When your arms get tired, enlist help! Knead the dough until it forms a soft, smooth ball. I didn't time how long this took, but it wasn't very long. Especially with a hyper three year old doing a lot of the work!

When you have a soft, smooth ball of dough, place it in a large oiled mixing bowl. Cover with plastic wrap and let rise in a warm, draft-free place. I put mine in the garage (how much warmer can you get in Houston?) and it doubled in size fairly quickly.


While the dough is rising, you can prepare the filling. In a food processor, grind the walnuts.
 In a large bowl, combine the melted butter and walnuts. Add your sugar and spices and then stir in a half cup of milk. Set aside until it's time to form the pastries.

Divide the filling into four parts and spread one part onto the rectangle. Spread the walnuts as evenly as possible over the dough and leave about a quarter inch (about half a centimeter) space at the edges.

 Working from the longer side, begin rolling the rectangle like a jelly roll. Place on a flat baking sheet seam side down. Repeat this process with the remaining dough balls.
Cut the rolls into six slices. Cover them with plastic and let rise a little longer. Brush with the egg wash.
Then bake in a 375°F (190°C) oven for twenty minutes, or until golden brown, turning halfway through.


А ЭТО называется-дружная СЕМЬЯ!!!! Когда в приготовлении задействованы все члены семьи. Вот эти маленькие ручки,которые умеют не только обнимать маму и папу,но и на деле помогать_это дорогого стоит.Умница Лизочка!!!!Очень вкусно!орехи дают непревзойденный вкус! СУПЕР!!!!
ReplyDeleteОоочень аппетитно выглядит!
ReplyDelete