Ossetian Pies (Potato-Cheese Filling)

Kartofdjin, as promised! This is the filling recipe for Ossetian pies with the potato cheese filling that I mentioned in the dough tutorial . I think it is probably one of the easiest fillings to learn how to make the pies with, and is a great choice when you are making them for other people (because who doesn't like potatoes and cheese??).
The filling is very simple to make, and can be adjusted to your own tastes. I use russet potatoes because they become very creamy when mashed and I add mozzarella (Georgian suluguni cheese is very hard to find and expensive in the States) to get a nice texture when the cheeses melt. And the stringiness is always fun, like when you pick up a hot piece of pizza and the cheese is gooey and stringy. Yum.... As for Ossetian cheese, I'm not sure if it's available anywhere in the States. If you can find it, by all means use it (and please let me know where you found it!). Otherwise, I use a very firm Greek-style feta. Texture- and taste-wise, it's very similar to Ossetian cheese and is a great substitute.
As far as timing goes, I usually make the filling while the dough is rising. However, I see no reason why you couldn't make it beforehand.
Ingredients:
- 7-9 russet potatoes (depending on size), cut into chunks
- 2 cups whole-milk suluguni or mozzarella, shredded
- 2 cups Ossetian cheese or Greek-style feta, grated
- milk
- salt
- all purpose or bread flour
- melted butter
 The first thing you will need to do is boil the potatoes. In a large pot, cover the potatoes with water and salt the water. Bring the water to a boil, lower the heat and simmer until the potatoes are fork-tender. In this step, you are basically just making mashed potatoes, so really just cook them like you would for that.
 In the meantime, start shredding. I used the large holes of a box grater for this. First the mozzarella,
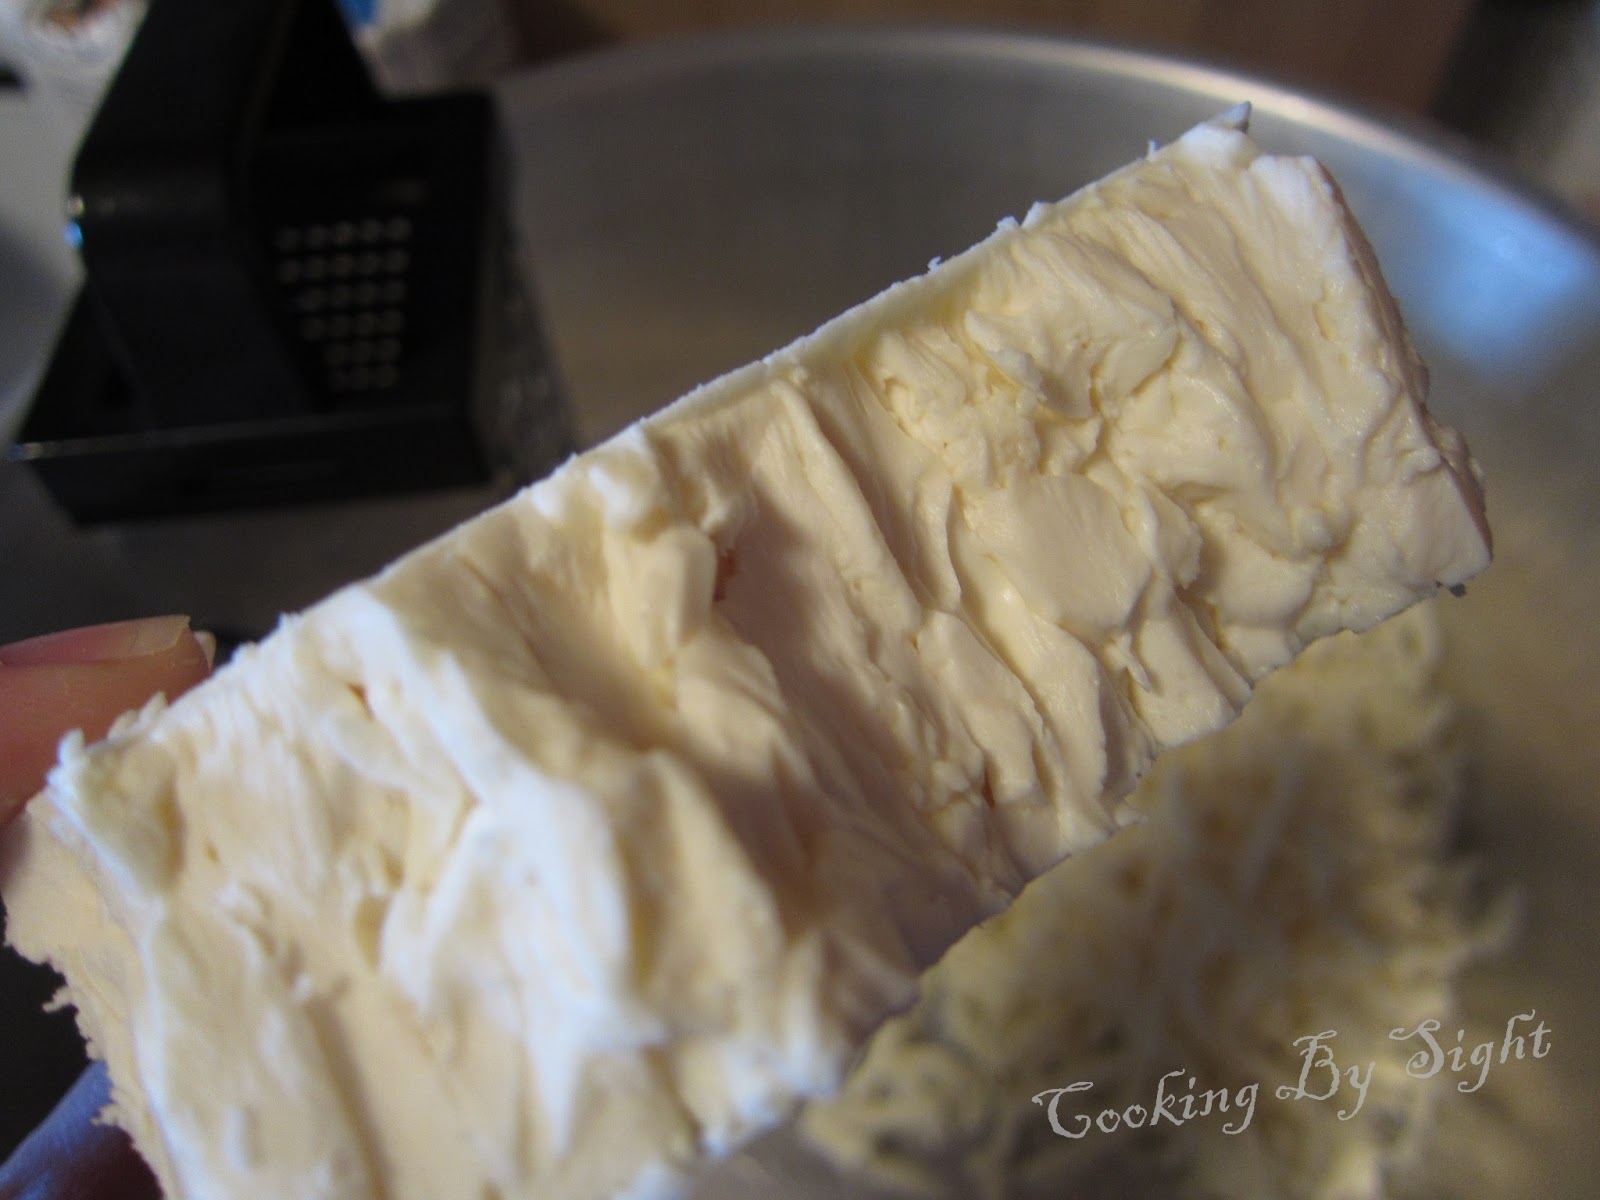 and then the feta. If the feta is difficult to grate, you can crumble it by hand. Just be sure that you don't leave any big chunks, because they can tear the pie dough when you are working with it later.
Now would be a good time to start preheating your oven. Heat it up as hot as you can make it (mine goes to 500°F) and put one rack on the lowest level and one close to the top (maybe just above the center level).
 When the potatoes are done, drain them and let them cool for a little while. They don't have to be stone-cold, but you also don't want them to melt all of your cheese right away. When they are not too hot to handle anymore, mash them with a potato masher (again, no big chunks) and add to the cheeses. Mix well and add enough milk to give them the consistency of very creamy mashed potatoes. Have a bite and add salt to taste.
 Taking one dough ball, turn it over on the countertop (again, it must be well-floured, or else the dough will stick, and your pie will break) so that the ends you tucked under are now on top. Start pressing the dough into a round shape about 6-8 inches in diameter. Flatten it with your fingertips (it will look like focaccia)
 Next, divide the dough into as many sections as you have dough balls. Scoop out one section with a spoon and form it into a ball shape in the middle of your flattened dough. Try to keep your hands clean, otherwise the dough won't seal as well.
 Now it's time to start closing up the pie. Working quickly, gather the edges of the dough and bring them up to cover the filling ball.
  Bring the edges together, squeeze together to seal and pinch off any excess dough. These pies are supposed to end up with the bread part being very thin (although that does take quite a bit of practice) so you don't want a lot of extra dough hanging around.
 Now start flattening the pie out in as round a shape as you can manage. Once you've gotten it to about six inches diameter, carefully transfer it to a round pizza pan. Then continue flattening it with your hands (gently, to avoid tearing the dough) until you have gotten it as thin and round as you can make it - preferably to the edge of your pan.
 Before you put the pan in the oven, make a small hole (1 inch) in the middle of the pie to allow steam to escape during cooking. Now place the pan on the bottom rack of the oven.
While the first pie is cooking, you can get started making the second one. If you only have one pan, wait until the pie that is in the oven is almost ready to come out. That way you can minimize the risk of having your next pie stick to the countertop because it sat there too long waiting.
 After about five minutes, jiggle the pan a little to check if the pie is loose. If the bottom is sticking, let it cook a little more on the bottom. If it moves freely, transfer it to the top rack to let it finish cooking. Now (if you have more than one pizza pan) you can put the second pie on the bottom rack to get started.
 Let the pie cook until the top gets to be golden brown and spotty. Then remove it from the oven and slide it onto a wooden cutting board, if you have one large enough. Otherwise, you can cover a round tray with a non-terrycloth dish towel and place the pies on that. You don't want to put them straight onto a ceramic or plastic tray because they will get soggy on the bottom.
After you have the pie out, it's time to make the crust soft. To do this, we need butter. Not plasticky margarine. Real butter. Brush it gently over the entire top and sides of the pie. This makes them soft and delicious, but definitely not diet-friendly. But did I mention delicious?
Cut into triangles like pizza and serve hot! These can make a great substitute for bread at a dinner party or can be a meal by themselves with some salad and pickles. They are also great for breakfast the next day. Cold, of course. These are the Ossetian version of pizza, after all...


Comments
Post a Comment